
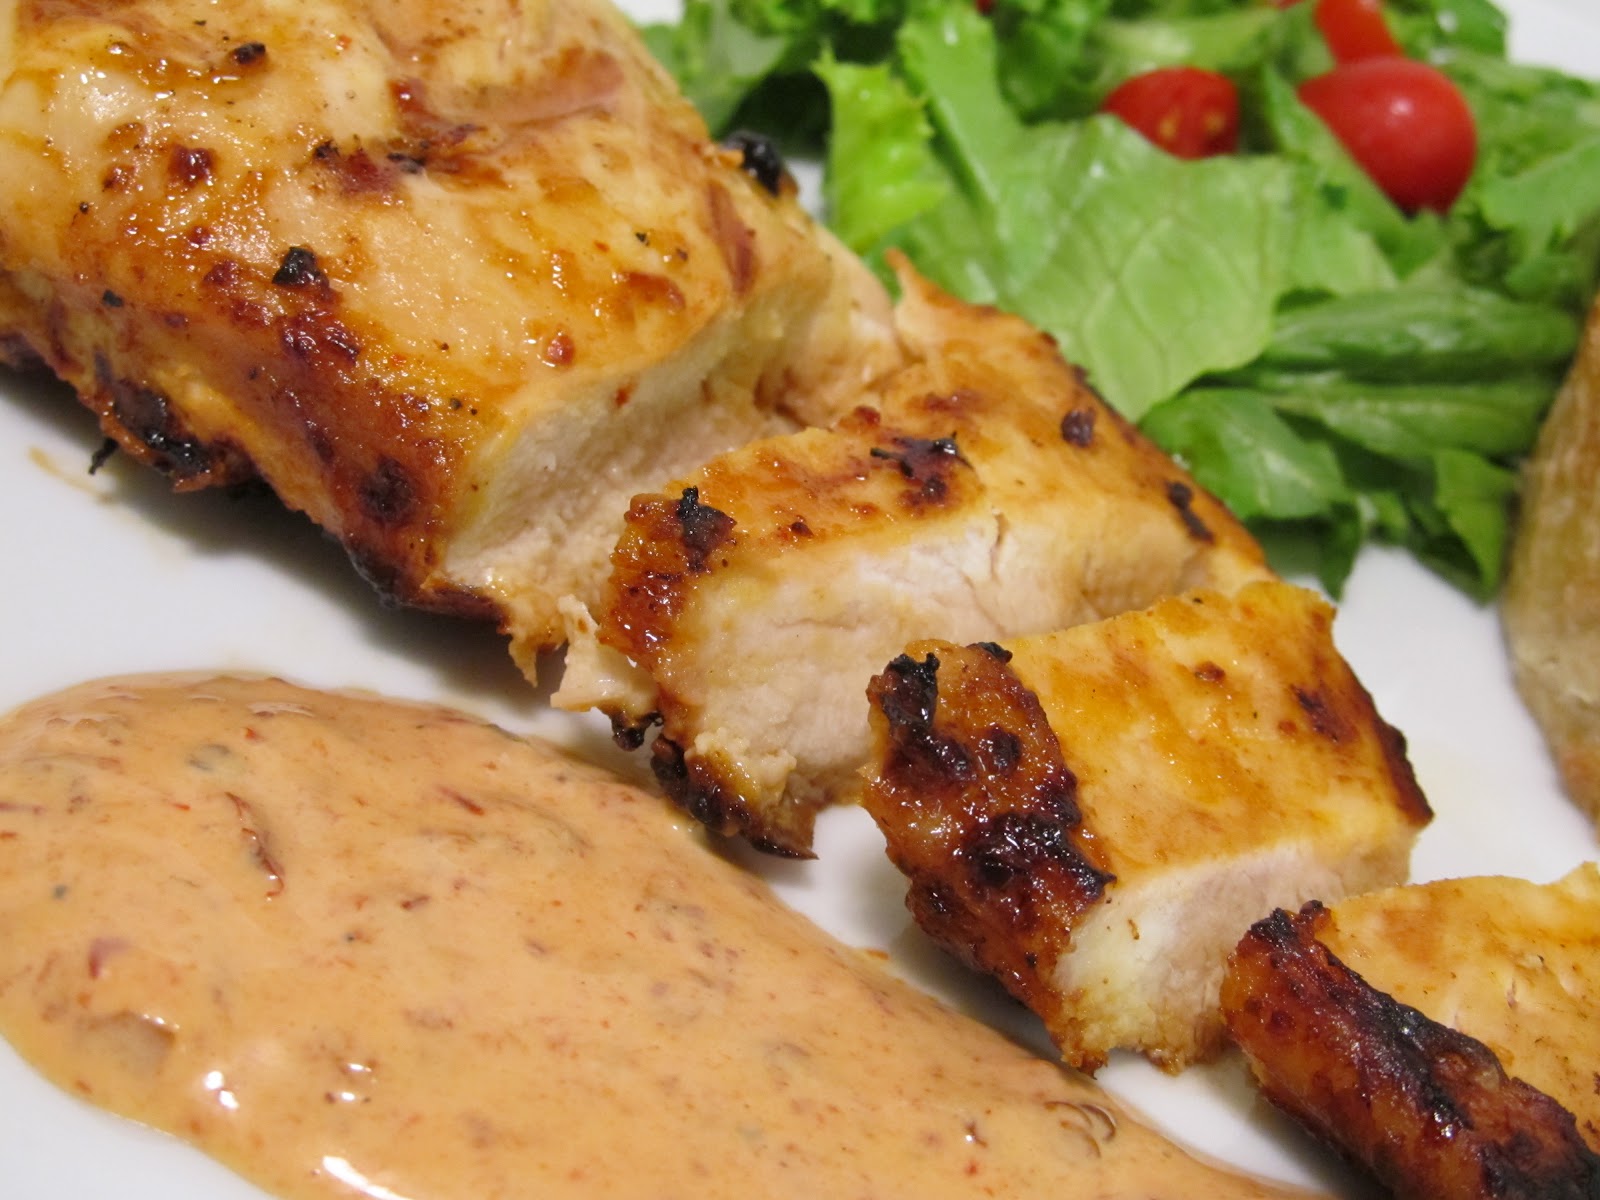
Grilled Korean Chicken
Adapted from Bobby Flay
Printable Recipe
Ingredients:
1/3 cup soy sauce
1 1/2 Tablespoon rice vinegar
1 Tablespoon honey
1 Tablespoons Korean chili paste
1/4 teaspoon ground ginger
2 garlic cloves, finely minced
2 boneless, skinless chicken breasts or 1 breast and 1/2 lbs boneless, skinless thighs
1 bunch green onions (6-8 onions)
1 red pepper, stem and seeds removed, cut into two large pieces
flour tortillas
1 cup cooked rice
For the sauce -
3 Tablespoons soy sauce
2 Tablespoons chili paste
1/2 teaspoon honey
drop of sesame oil
Directions:
Whisk together the soy sauce, rice vinegar, honey, chili paste, ginger, and garlic cloves until well combined. Place the chicken in a resealable plastic bag and pour the marinade over it. Seal and place the chicken in the refrigerator for 2-4 hours.
Preheat grill to 375 degrees F. Clean and oil grill grates. Place the red pepper over the fire and grill about 3-4 minutes per side or just until it's starting to soften. Remove, allow to cool, and thinly slice. Place the green onions on the grill and allow to grill 3-5 minutes. Remove and slice. Place the chicken directly over the fire and grill 5-10 minutes per side or until the breast reaches an internal temperature of 165 degrees F. Remove from grill and allow to cool for 5 minutes and thinly slice.
To make the sauce - mix together all ingredients for the sauce until well combined.
Place a tortilla on a plate and top with rice, chicken, red pepper and green onion. Drizzle sauce over everything and enjoy!

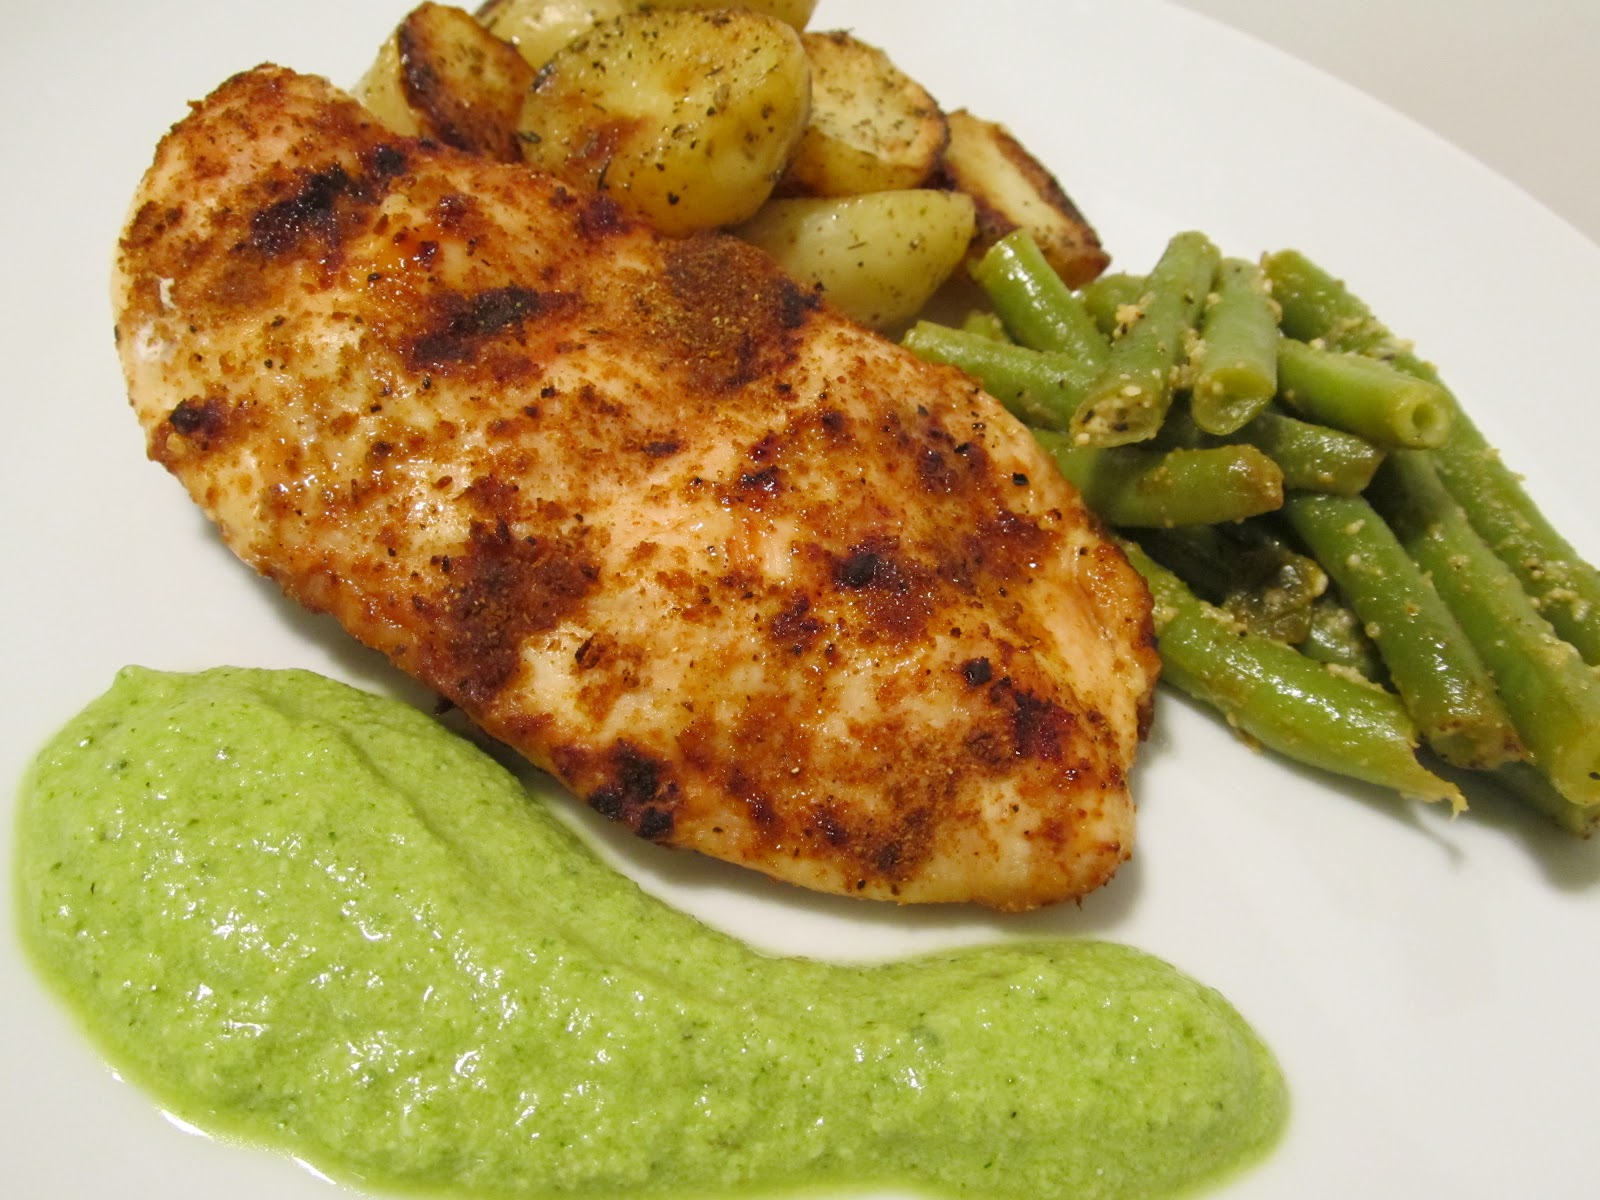
Two Years Ago: Chimichurri Chicken Pita Pizza


